
Anthony Koithra loved his job at a big consulting firm but couldn't shake his fascination with filmmaking. As the excuses he devised not to follow his passion faded, Anthony quit his full-time job to dedicate his efforts to exploring filmmaking within a game engine. However, he soon realized there was only so much that YouTube tutorials could teach him. Anthony wanted a more personalized and interactive approach to learning virtual production, so he enrolled in CG Spectrum's virtual production program.
During his studies at CG Spectrum, Anthony created the outstanding Top Gun and Star Wars-inspired fan film Rogue Squadron — find out his process and watch the short film below!
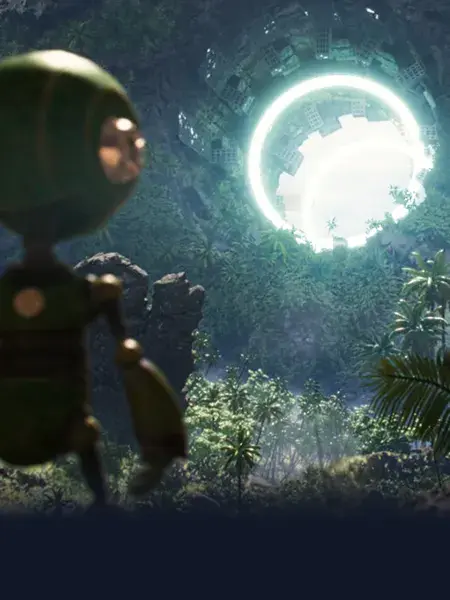
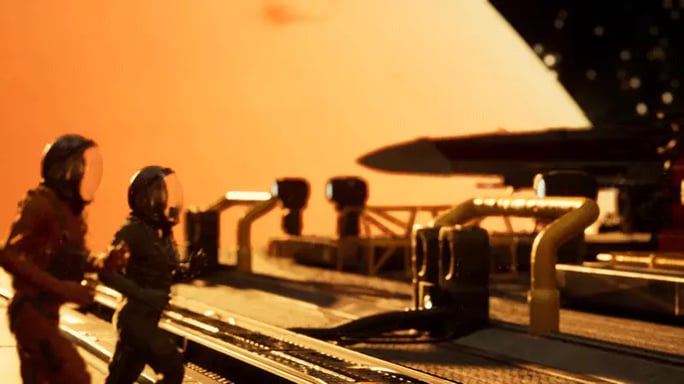
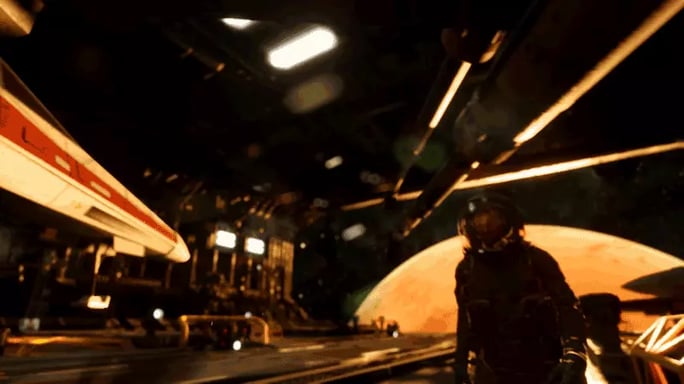
Still from Anthony's short film, Rogue Squadron.
From business consulting to filmmaking — Anthony’s “Unreal” journey
Before studying virtual production, I was a Managing Director and Partner at The Boston Consulting Group. I worked on projects for important clients, learned a ton from awesome colleagues, and built an exciting new part of the business from the ground up. It was an enormous privilege to be in my position, and I will always be grateful for the experience.
Filmmaking has always fascinated me, and while I’ve dabbled here and there over the years, I never saw a way of making it a full-time job primarily due to a number of self-created excuses: I’m an immigrant and need to be employed to maintain my status; I can’t earn money making films; I have a good job that I enjoy and am good at — I’d be crazy to quit. Over time these excuses faded, and it became harder to explain to myself why I wasn’t doing what I knew I really loved doing.
So in April 2022, I quit my job to work on making animated short films full-time. I experimented with both Unity and Unreal Engine since real-time workflows seemed most practical for me as a solo artist.
After settling on Unreal Engine and attempting to learn via YouTube tutorials, etc., I realized I needed a more structured approach and, more importantly, some experts from whom I could get direct responses to questions, problem-solving, and candid feedback.
I’d been following William Faucher and Deepak Chetty as Unreal filmmakers for a while, so when I saw they both mentored at CG Spectrum, it felt like a perfect fit for my needs.
Rogue Squadron — Anthony's short film, created in Unreal Engine.
Recreating the opening sequence of Top Gun with a Star Wars twist!
After spending the first few weeks on a much-too-ambitious project, I decided to scale back and work on something simpler that I could “ship” in a shorter time frame. I settled on the idea of re-making the opening scene of the original Top Gun, except using a space setting and X-Wings. Just trying to make up for that Rogue Squadron movie that never happened.
Watching the original Top Gun sequence for reference, it was fascinating to see the layers of narrative embedded within what might just look like flashy action cuts on the surface. The tight, close-up shots were probably a result of practical shooting restrictions on the deck of an aircraft carrier, but those crops were used to create beautiful and impressionistic compositions of humans dwarfed by machines.
The opening scene is a symphony of equipment and competence: huge, powerful machines operated by highly trained and coordinated teams working in perfect harmony. The cut from one iconic ’80s track (Harold Faltemeyer’s Top Gun Anthem) to another (Kenny Loggins’ Danger Zone) never fails to get the blood pumping.
One of the biggest questions I had was how to effectively translate the mood of the opening sequence of Top Gun (one of the most iconic title sequences ever) to a Star Wars context.
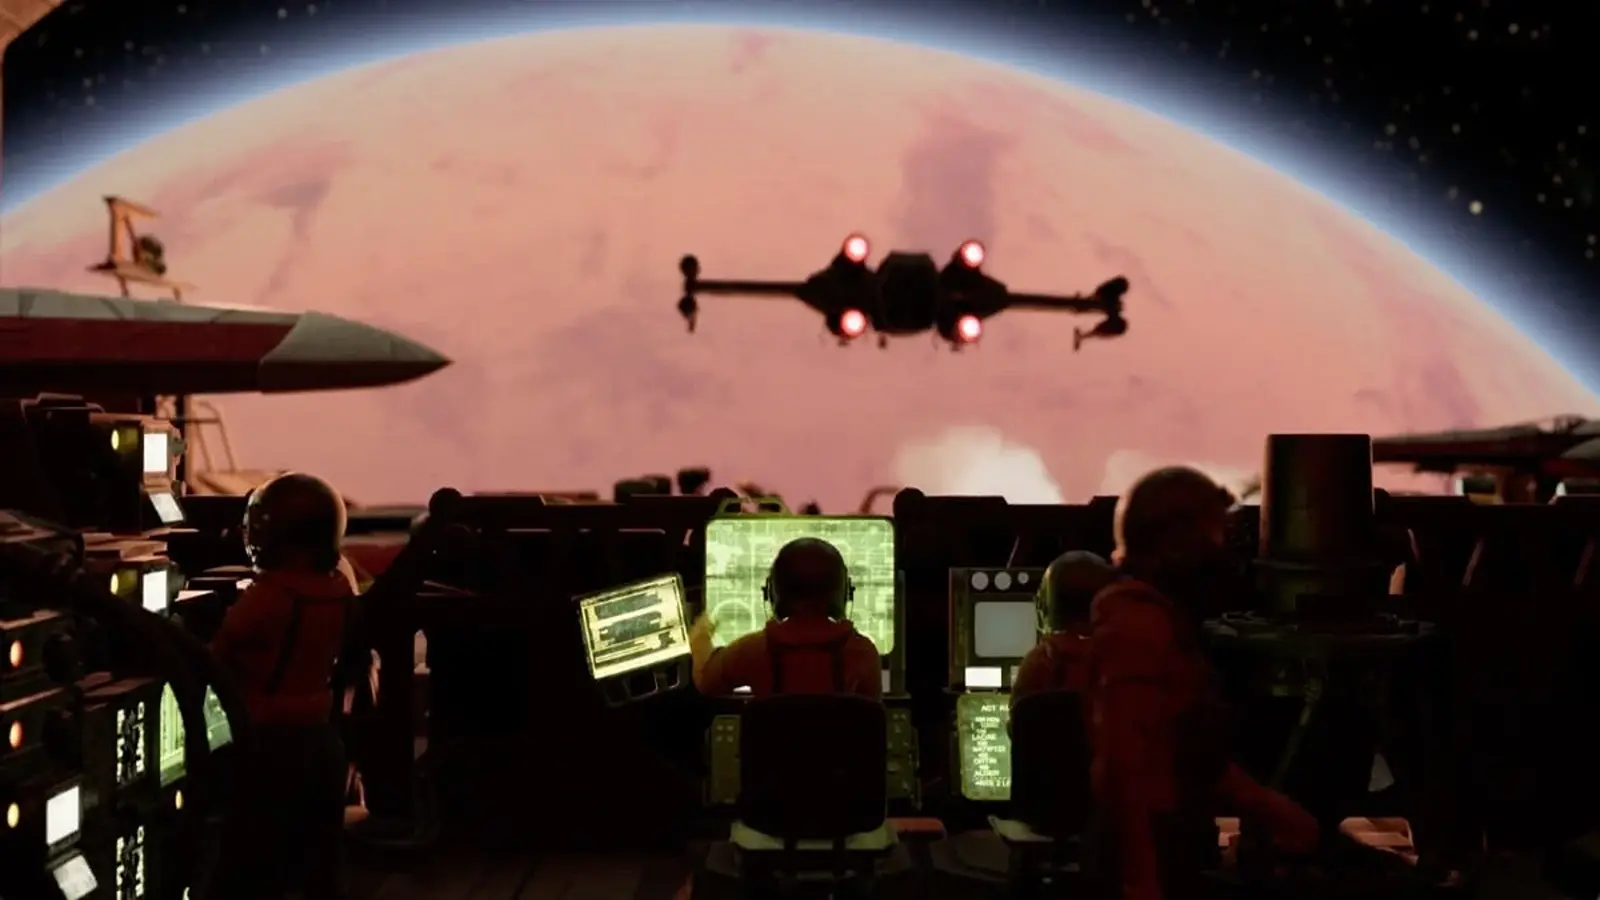
The opening scene of Top Gun that inspired Anthony's short film, Rogue Squadron.
AchievingTop Gun’s iconic ‘permanent sunset’ look
I piled a bunch of frames from the original film into PureRef. Then on the advice of my mentors at CG Spectrum, I collected several reference images for spacecraft and space scenes to try and connect the two visually.
Given the stylized orange, ‘permanent sunset’ look of Top Gun, I also collected images from films that had striking orange-blue palettes to see how they worked.
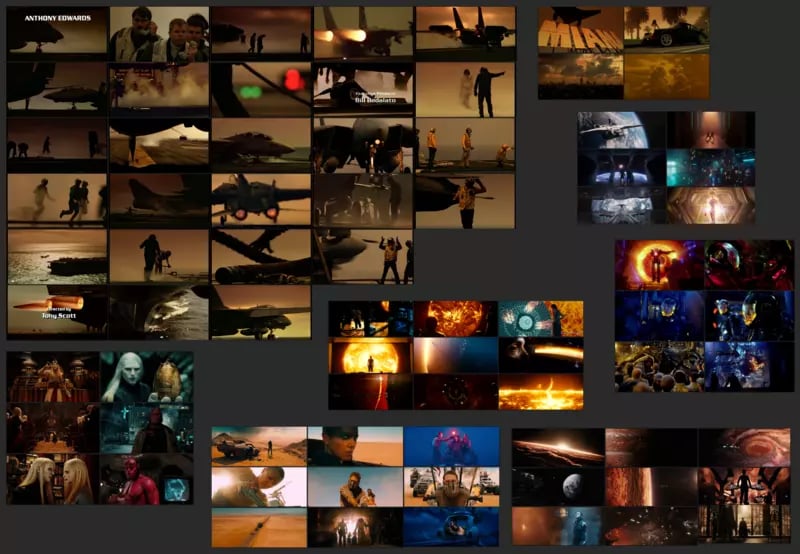
Some of the orange-blue palette reference images, collected by Anthony.
The first look-development hurdle was that, inconveniently, light in space is usually white or bluish-white and certainly not the dusty orange of Top Gun. The silhouetted shapes of people and aircraft against an orange sky is the defining visual characteristic of the original. How was I going to achieve the look of a sunset in space without sacrificing too much realism?
The obvious answer was to include a classic Star Wars orange planet and use that as the backdrop — it would reflect some orange light, and I could crank that up to light the X-Wings and space station.
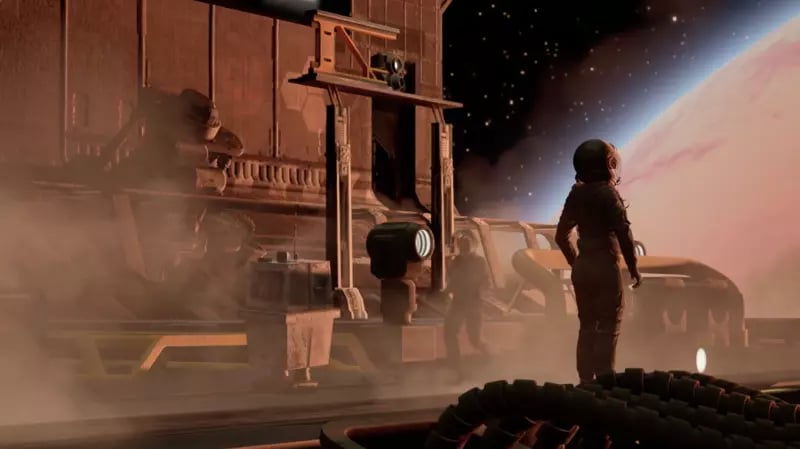
Work in progress: glow emanating from a Star Wars-esque orange planet.
An interesting lesson for me was training my eyes and brain to modulate the level of color and stylization of my scenes to better replicate the original.
When I made the above lighting setup, I thought it looked great. However, with valuable feedback from my mentors, and a more honest look at the reference images, I could clearly see it was oversaturated and over the top. The lighting looked more like sunshine (as if the spacecraft was literally next to the sun) than in the original sequence.
Creating realistic characters
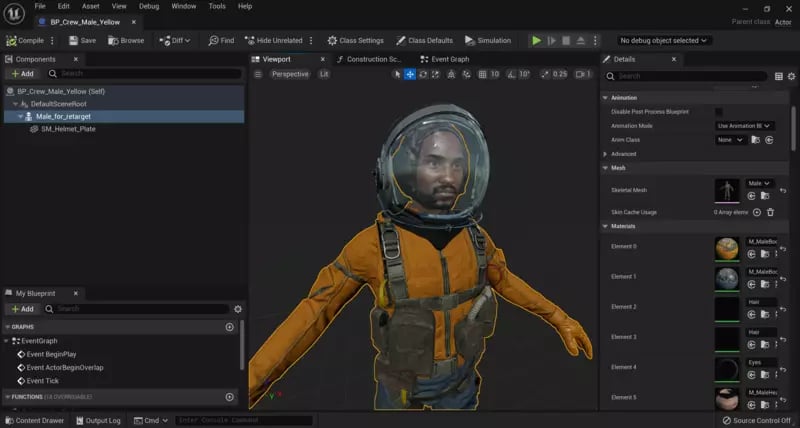
Another consequence of the more grounded approach was that the pilot models I had initially intended to use (from the Disney Infinity game) were much too stylized and cartoony to fit with the realistic lighting and X-Wings I was using. So I ended up adapting the human models from BigMediumSmall’s Mech Squad pack and outfitting them with the helmet from the Disney Infinity Luke Skywalker model.
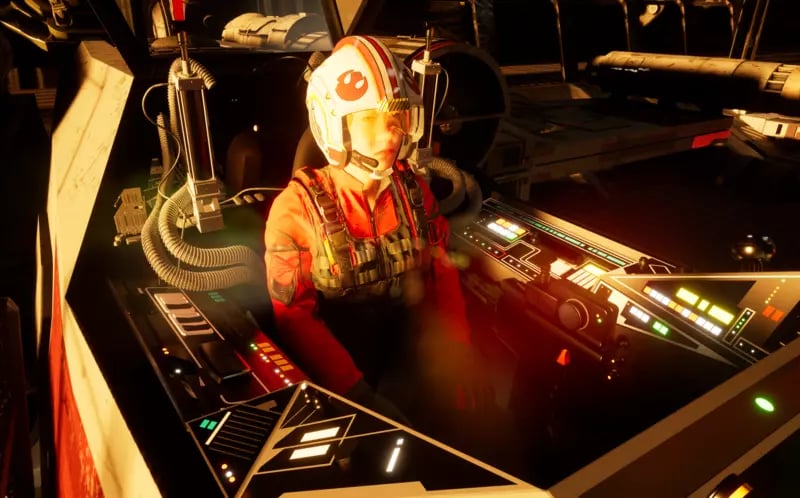
X-wing pilot with helmet.
Helmets became a broader question too. I only had two human models from the Mech Squad pack, which I intended to reuse in all the shots. I needed a way to hide their faces so that the reuse would be less obvious. I also had a bunch of people running around in an open vacuum (given the space station bay doors are open), so helmets made sense. I re-colored their uniforms, along the lines of the various uniforms in Top Gun, and developed masculine and feminine-looking versions.
Fixing a “glaring” problem
I eventually got a couple of early test shots done, which looked pretty good and felt enough like Top Gun, so I started cranking out a few more to develop a standardized workflow.
A Rogue Squadron work-in-progress test shot, rendered in real-time in Unreal Engine.
Another work-in-progress test shot.
To my mentors’ more experienced eyes, there were a few glaring (pun not intended) issues that I wasn’t really aware of. I’ll use the shot above as an example. First, I had way too much lens flare — even JJ Abrams would think this was a bit much!
Second, several parts of the shot were overexposed — the hotspot at the top of the bay door opening, the overhead lights, etc.
Third, the planet has no atmosphere, which, while not strictly necessary, is an easy way to add visual interest and emphasize the sunset look. And lastly, my steam, a key part of the Top Gun look, wasn’t really working.
With my mentors’ help, I eventually resolved all of these issues and got going with building out the set properly.
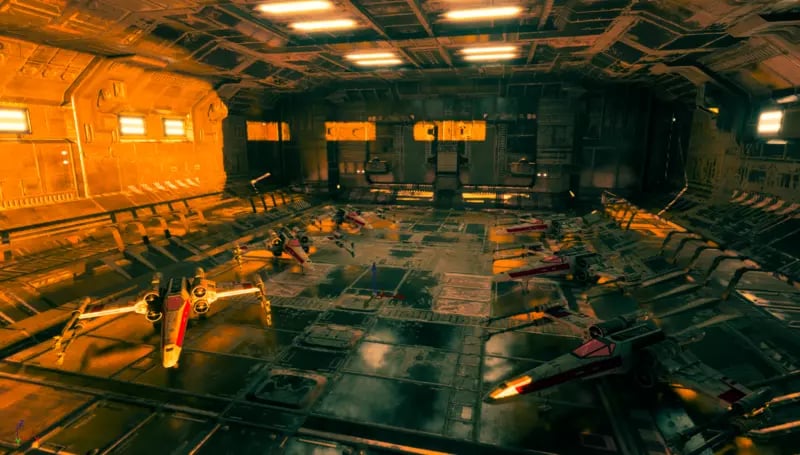
Building out the space station in Unreal Engine
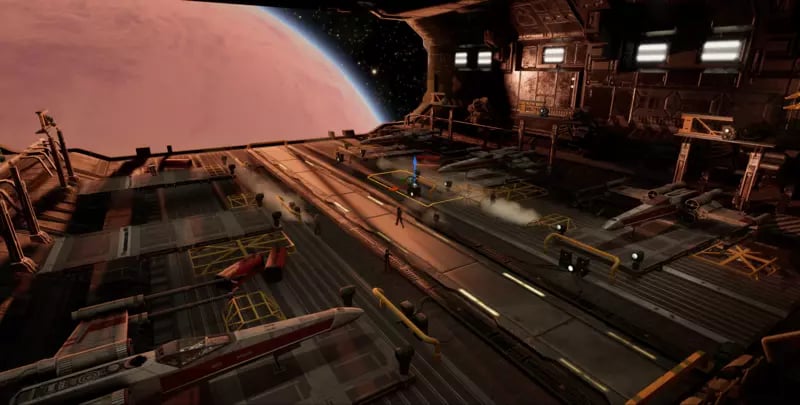
Building out the space station set.
The shell of the station and the asteroids came from a mining station asset that I found while trawling through Unreal Engine Marketplace. The big red planet is a customizable Blueprint asset (more on these later), also from Unreal Marketplace. And the background starfield is actually a very large spherical object called a SkySphere with a customizable layer of stars and colored nebulae.
Selecting the assets, putting them together, customizing their looks, scaling them to approximately realistic distances and sizes (100k+ kilometers apart), and then lighting them, so they make sense together is the magic of kitbashing!
The interior of the hangar is a combination of several different kits and assets from the Unreal Engine Marketplace, BigMediumSmall, and Kitbash3D. Some assets were as easy as drag and drop — others required a little work and fiddling before they were ready for use. But it's always better than trying to build it all from scratch, obviously.
I built out the main layout with floor plates and then built a single X-Wing landing bay with lights and a maintenance frame behind it. After making sure it worked with my X-Wing model, I duplicated it several times for the other bays.
When I placed one of my human models in the set for the first time, I realized that the holes in the floor plates were so large that the human model’s feet would fall through them, so I had to scale down the floor plates significantly and add a lot more of them. Reference really is everything in this stage of building a virtual set.
While there isn’t a control tower shot in the original, I’ve always thought there should be, and I couldn’t resist having a shot or two with glowing digital screens reflected in glass space helmets. So I also built out a “control room” area in the rear center of the hangar — screens on screens on screens, with lots of cables and big honking computer equipment.
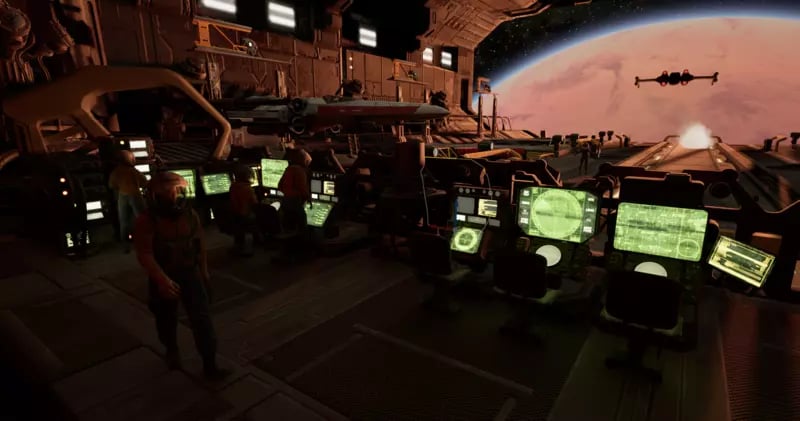
The control room in Rogue Squadron with lots of screens.
Reality is messy and asymmetrical, so wherever possible, I introduced irregularity and variation — randomly placed red boxes (I mean, photon torpedo storage), rotated the cranes slightly differently to one another, included irregular cables and piping — anything that made the scene feel less copy-and-pasted.
The final touches included VFX-like steam and decals like the Rogue Squadron logo. Sometimes you only realize the need for things like this partway through production. The nice thing about real-time environments like Unreal Engine is being able to quickly drop in a new asset and instantly re-render your shot, versus pushing a shot back through a long and painful pipeline.
Control rigs for the crew and X-Wing models
Building Control Rigs for a crew member.
I built out Blueprints for each type of crew member and X-Wing, assembling components into reusable units. I found one beautiful high-poly model by Charles Woods on Sketchfab, but the textures were made to look a little too damaged for what I was looking for. The cockpit, however, was beautifully detailed, so I ended up pulling that out and placing it in a different X-Wing model by Steve Dowdy on CGTrader. This other model also had a moveable undercarriage assembly, which I definitely wanted for shots inside the hangar.
I made separate Blueprints for X-Wings sitting in the bay (no undercarriage movement, no pilot), X-Wings taxiing in for a landing (moveable undercarriage, pilot), and X-Wings in flight outside the hangar (no undercarriage at all and no pilot).
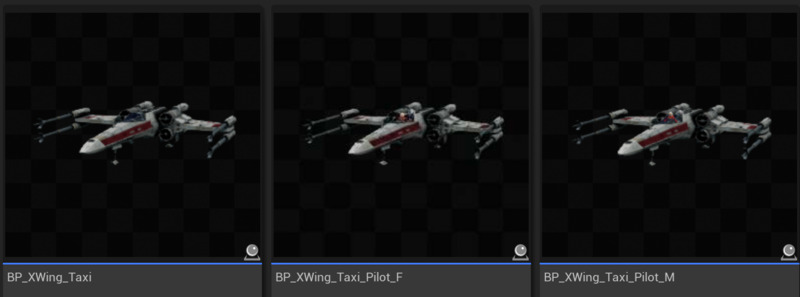
X-Wing variations.
This sort of preparation in pre-production speeds up production significantly, but it is possible to over-prepare — and surprise, surprise, I definitely did this on Rogue Squadron. For specific types of standardized movement, you can create a Control Rig in Unreal Engine, which is a rigged set of controls that you can grab and move to drive the movement of part of the model — a bit like the strings of a puppet. You can build logical functions in a node graph to define how things move in relation to each other.
I was able to easily set up Control Rigs for simple movements like opening the canopy or flaring the wings, but the complex set of piston movements required for the undercarriage is a bad use of the technique. I spent a week trying to figure out how to use a Control Rig to drive the undercarriage animation of my X-Wing models before giving up and just baking the animation into its own asset, which I can reuse easily.
Staying organized
With lots of support from my mentors (even after the original course had officially ended) throughout the duration of the course, I was able to crank out all 60+ shots of the short.
I stayed organized with spreadsheets and checklists and kept going, despite definitely considering quitting a few times.
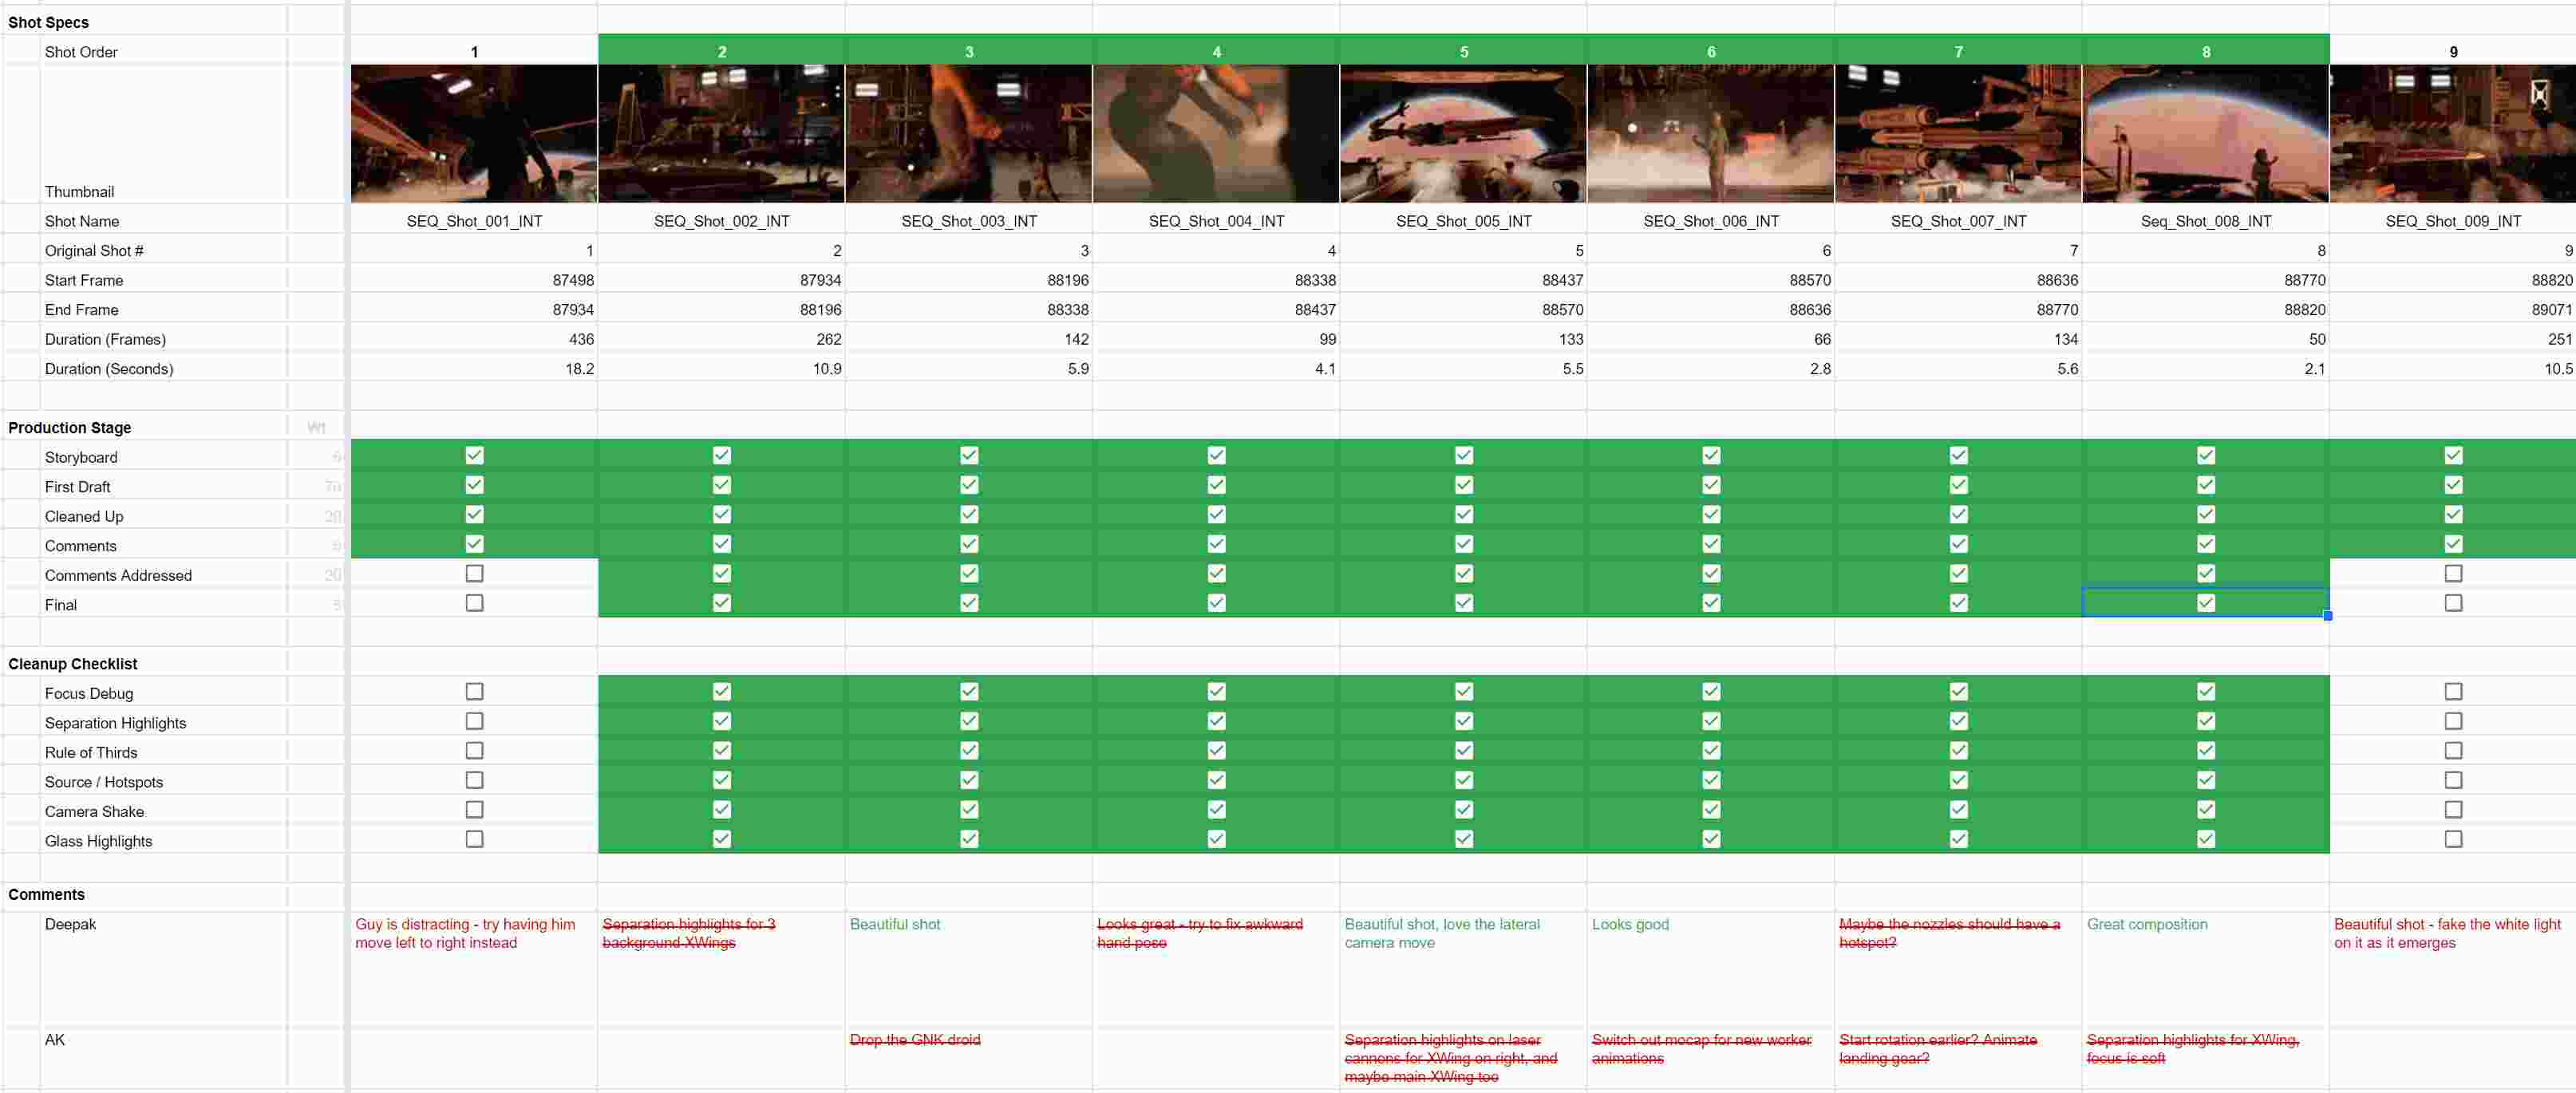
Anthony's well-organized spreadsheet, used to track his many shots.
While I started out with Post-it Notes and a paper notebook, these organizational spreadsheets became invaluable in keeping track of feedback and progress over time and generally preventing me from wasting time.
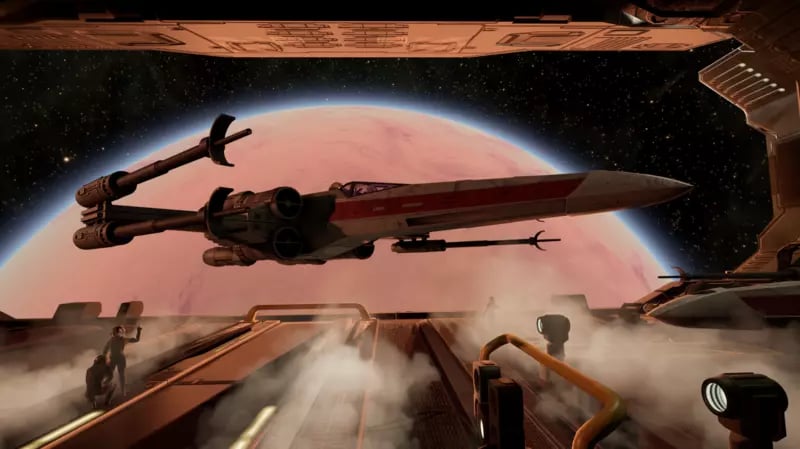
Still from Rogue Squadron, made by Anthony in Unreal Engine.
It took a while and a lot of work, but I'm proud of what I achieved. If you’re interested, you can read more about the project and how I made it on my blog.
How CG Spectrum gave Anthony the confidence to get started
The biggest challenge in this process was also the fuzziest — there were so many unknowns for me at the start of the course: what is the right way to get started? How much work to do in Unreal Engine? Should I use a Control Rig, or should I keyframe the animation? Should I use realistic lighting or fake everything? It was quite overwhelming and paralyzing.
And there wasn’t necessarily a single “A-ha!” moment that fixed that — it was more a slow process of confidence growth, largely driven by targeted, clear answers from the mentors I worked with and watching them problem-solve my issues live and in real-time. I’m still early in my real-time filmmaking learning journey, but I’m a lot more confident that I will be able to figure things out in whatever project I tackle next.
Four times Anthony benefited from expert mentorship
I learned a lot from my mentors and am so grateful for their support. Below are four times (of many) my industry-expert mentors helped steer me toward my goals, teaching me valuable filmmaking, virtual production, and Unreal Engine skills.
- It took a while for me to realize that there isn’t a “right” way to do things when it comes to file and project structure, workflow, application stack, etc. until I chatted with Virtual Production Expert (and award-winning Filmmaker) Deepak Chetty. His analogy of thinking of Unreal Engine as almost like a camera that generates raw footage was very useful in getting my head around where the software sits in the pipeline and where it really shines.
- My eyes are untrained and naive when looking at shots and stills — it is still hard for me to identify complex lighting issues, and while sometimes I can tell something is off, it’s hard for me to tell what exactly. CG Spectrum Technical Assistant Marc Carratala and Unreal Engine Artist and Developer Logan Pinney were hugely helpful in talking through how to balance realism and stylization and how to use reference images to create boundaries for yourself.
- Learning to use Blueprints effectively is like learning to code, albeit a very simplified language, but still a tough curve. Watching Unreal Authorized Instructor and Game Programmer Ryan Laley figure things out in real-time during our problem-solving sessions really showed me how to think about it and gave me the confidence to just dive in.
- Finally, it’s one thing to make two to three shots of a test piece and quite another to make 62 shots for a full short! I can confidently say that without Deepak’s guidance, encouragement, and feedback throughout, I would not have completed the short.
Anthony’s next project
I have written three original short film screenplays, the first of which I intend to start production next year. But before that, I have another learning exercise planned (also limited in scope) to learn more detailed character animation and facial animation in particular. It is a kind of sci-fi take on the crop duster scene from North by Northwest, and I’m excited about it.
I am also continuing to study under Deepak's mentorship, so I have regular check-ins with him, which continue to be invaluable. We have had several discussions on approaches to stylization, and under his guidance, I have been exploring the use of Stable Diffusion to stylize parts or all of a frame in post-production. Learning to do this in a controlled and predictable manner will also be part of this next learning exercise.
To see more of Anthony's work, follow him on Instagram, YouTube, Medium, ArtStation, and LinkedIn.
Master Unreal Engine and create your own epic fan film!
Sharpen your real-time skills with CG Spectrum's virtual production courses, created in partnership with Epic Games.
Led by experts in real-time and virtual production at an Unreal Engine Authorized Training Center, our courses will help artists, filmmakers, and content creators master Unreal Engine workflows and techniques.
Power up your real-time skills in real time!

Related Links