
Can you believe we are already at the halfway point of KitBash3D's Mission to Minerva Challenge to build a new galaxy? How is your world building going? If you're yet to begin, there's still time, and we have some great tutorials and top tips to share with you to help you get started.
With incredible prizes up for grabs, including a full scholarship to study the Real-Time 3D Foundations (valued at $7,999), you don't want to miss out on this global community challenge. You have until 2 December 2022 (9:00am PST) to submit your contribution to the galaxy. Winners will be announced on 20 December (time TBC).
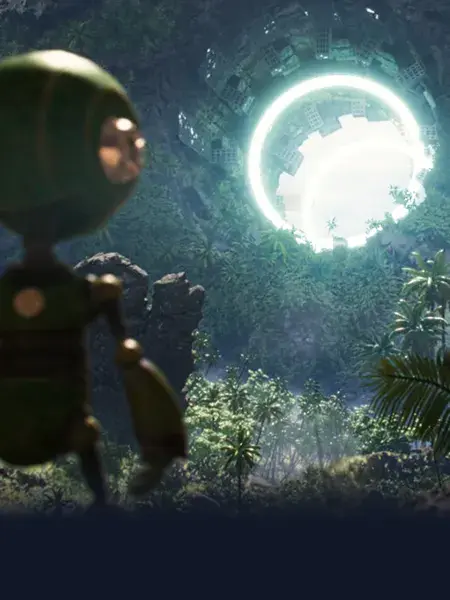
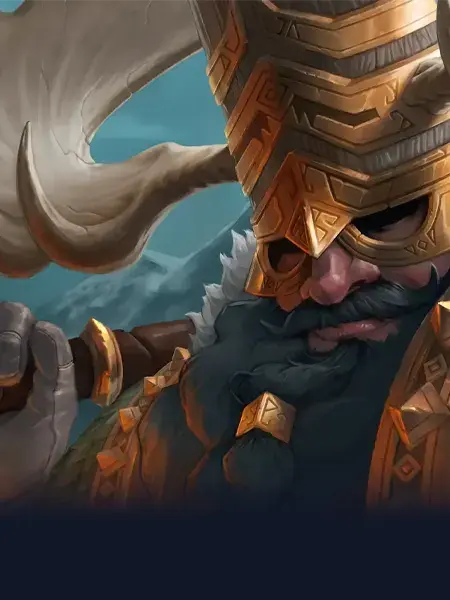
To get inspired, check out some the amazing work our challengers have produced so far:
KitBash3D assets can be used across a wide range of software and render engines so you can work in the program you feel most comfortable with, including Maya, Houdini, Unreal Engine, and Blender. (For a full list of supported file formats and render engines, head to the support page on the KitBash3D website.)
KitBash3D and CG Spectrum have provided some free online guides that take you through how to build your very own planetary settlement using the Mission To Minerva Kit in Houdini, Unreal Engine, and Blender. Find out what you'll learn in each tutorial, below!

Before you begin building your settlement
Here are three top tips from CG Spectrum's Dept. Head of VFX, Daniel Hourigan (Game of Thrones, John Wick, Aquaman), to give yourself the best start to using your KitBash3D Kit:
- Organize your assets: Organize assets into groups (e.g., Small, Big, Vehicles, Props, etc.). This helps when creating a scene by being able to easily pick from groups of assets instead of one big list.
- Create new groups to separate geometry: Use provided groups or create new groups to separate your geometry. KitBash3D provides lots of groups which can be great for splitting up assets for destruction or animation.
- Do test renders of your assets: Assets may be different when rendered, considering transparency, glass, etc., so it's always good to do a test render of assets to determine the final look, as this may influence which asset you choose to place and where.
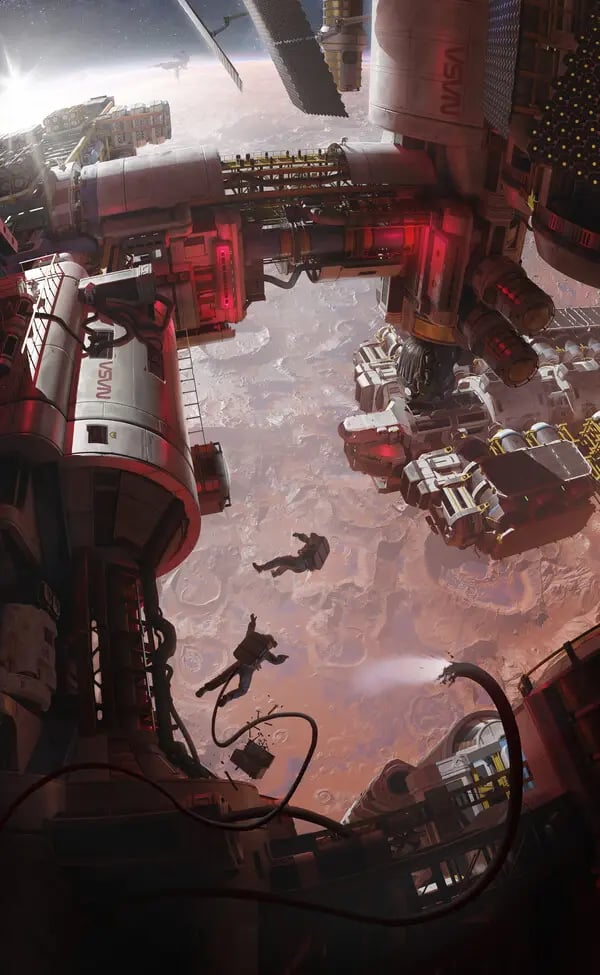 Mission to Minerva submission by KitBash3D challenger Gavin Manners
Using the Mission to Minerva Kit in Houdini
In CG Spectrum's Mission to Minerva Livestream Part 1, Daniel starts with a rough layout, adding more buildings to the scene and demonstrating how to load in a texture map as a terrain source and modify the terrain to work with the buildings.
Next, he ascertains how he was able to take one of the vehicle assets and create a simple rig for animation by breaking it apart based on existing groups. (This animation will serve as the basis for the effects Daniel implements in the Mission to Minerva Livestream Part 2 on 21 November PST — be sure to tune in on YouTube!)
Daniel then demonstrates how to procedurally lay out a single tunnel asset along a curve to create a large tunnel connecting two buildings.
In part 2 of the Mission to Minerva Livestream, Daniel will take the layout and environment which he produced in the first stream and focus on bringing it to life — adding FX and animation to the environment, including explosions and destruction!
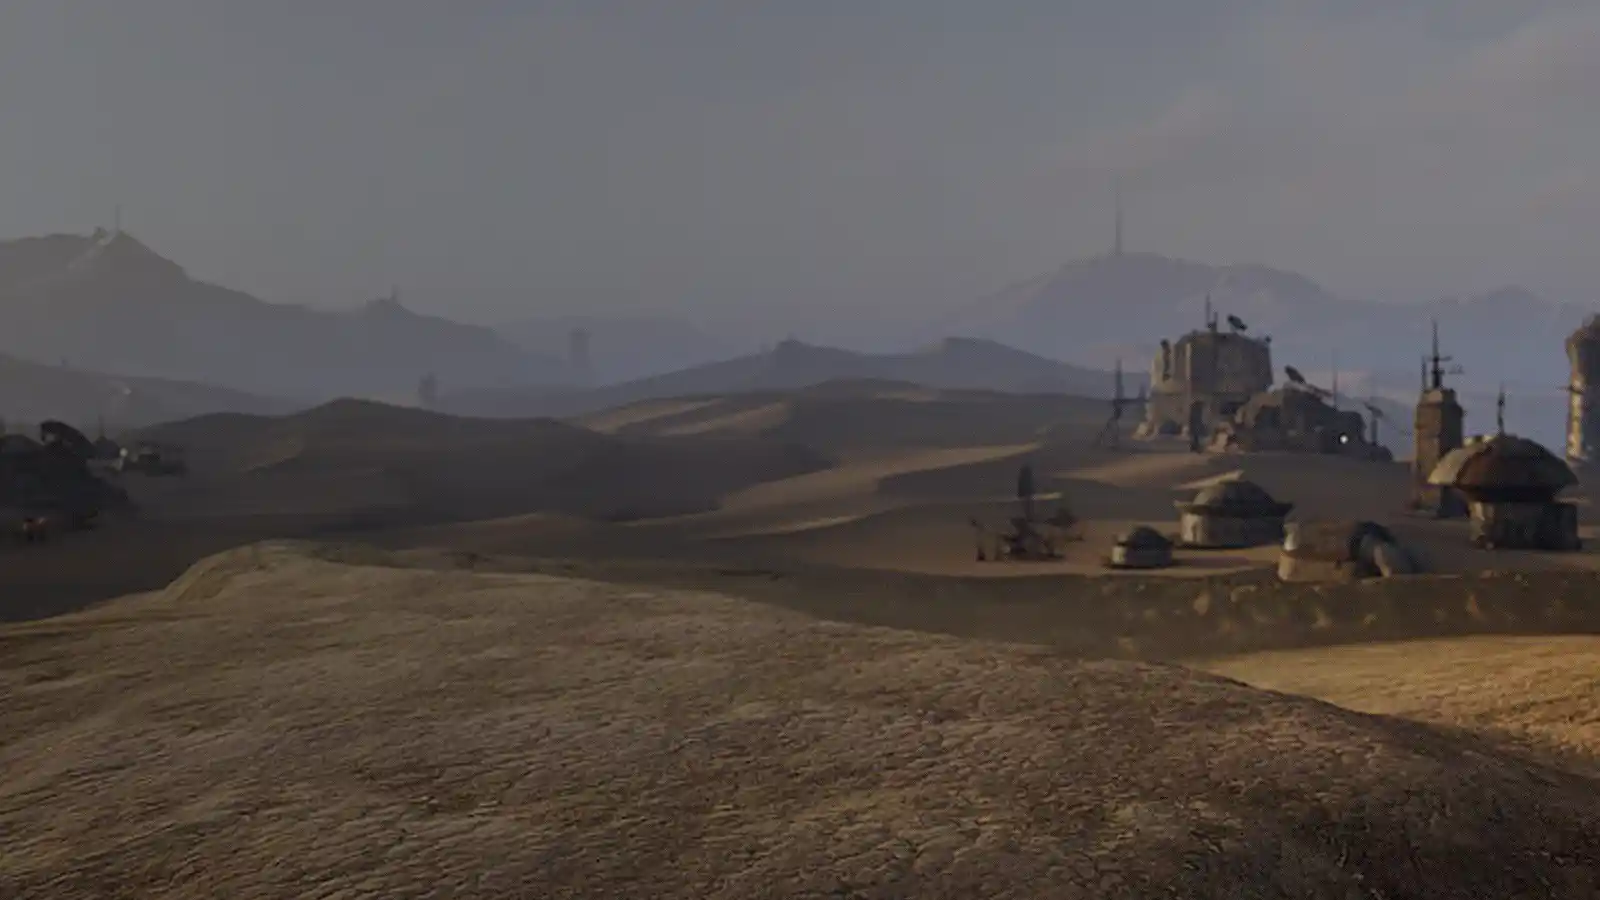
Using the Mission to Minerva Kit in Unreal Engine
This KitBash3D tutorial, led by UnrealSensei, shows you how to navigate and move objects in Unreal Engine (including user-interface basics), set up lighting, download and incorporate KitBash3D assets to populate your environment and create your terrain and settlement, and animate the assets to breathe life into your world. Lastly, you'll learn how to render out your own movie using Unreal Sequencer.
Using the Mission to Minerva Kit in Blender
William Bang—aka CriticalGiants—starts by showing you how to download your Mission to Minerva Kit for Blender, including how to reattach texture files. Using a clean scene, William runs through user-interface basics before diving into creating the terrain, adding settlements, testing out different lighting, and setting up cameras (including angles and focal length).
To finish, William runs through rendering out the final image and saving it as a .png to bring it into Photoshop for final touch-ups, such as adding in backgrounds, adding smoke and dust, adjusting the colors, and adding special effects.
Start creating your own intergalactic settlement with KitBash3D
The Mission to Minerva community art challenge is a brilliant opportunity for 3D artists! Don't miss your chance to work with a free KitBash3D Kit and be in the running to win a swag of incredible prizes, including a CG Spectrum scholarship.
Head to the KitBash3D website for more details and to download your Minerva Kit. And don't forget to watch Part 2 of Daniel's Livestream on November 21.