
If you want to become a 2D animator, then you’ll need practice in creating 2D animations. But where to begin? Luckily, there’s a process you can follow! We’ll take you through a common production process based on the model that most animation studios use to help you start creating your own short 2D animations.
The more animations you work on, the more practice you’ll get and the more work you'll have to add to your reel, helping you on your journey toward becoming an animator!
The production pipeline goes through the following stages:
Creating a 2D animation in 6 steps
1. Scriptwriting
It all starts with a solid script. Pixar will spend up to two years perfecting its screenplays before a single frame is drawn. This is because they understand the power of storytelling. They are experts at conveying compelling, emotional stories that resonate on a universal level. You can study their techniques in the book Pixar Storytelling: Rules for Effective Storytelling Based on Pixar’s Greatest Films.
The art of storytelling harks back to cave people huddled around a campfire, and the rules have not changed since then. The basic framework of a story consists of a beginning, a middle, and an end. This is known as the three-act structure.
The beginning establishes the world of your story and introduces the main character/s. The middle plays out the conflict and the main action—this is the longest section and where the heart of the story lies. The end is made up of the climax and resolution.
For a short animation, which may only last one minute or less, you can dispense with the first act and jump straight into the action. Think about the story you want to tell. Who are your characters? What is distinctive about the way they look, move, and speak? What is the world they inhabit? Infuse your story with relatability. Your characters don’t have to be human to express emotion or to battle with the struggles of the human condition. And you can always draw on your own personal experiences if you get stuck.
You’ll need to decide on the genre of your piece. Is it sci-fi, slapstick, a western, or a comedy? You may want to mix your genres — steampunk-noir, fantasy-horror, comedy-adventure, etc.
Build your story around the characters that exist in the world according to your chosen genre. Then, think about your audience. Is it a kid’s animation? Is it for fans of anime? Consider the elements of the genre that will appeal to your audience.
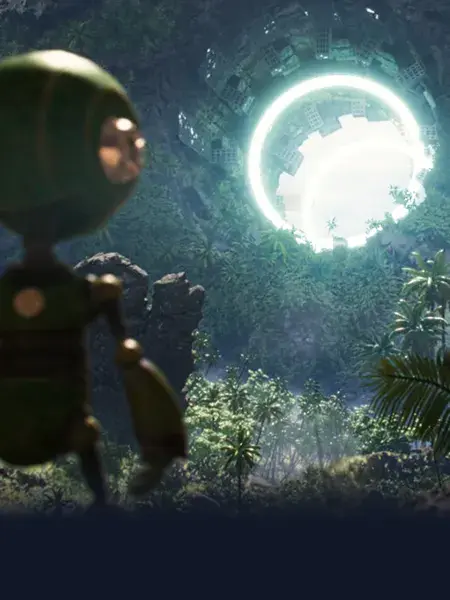
Lead 2D Animator and CGS Mentor, Alfredo Cassano takes us behind the scenes of Klaus and demonstrates how he created his animations of the character Jesper.
Next, add your personal style. Express yourself in your script according to your artistic sensibilities.
Now it’s time to write up your script using the industry standard format, or you can purchase software like Final Draft, which will make the process easier. Your script can also be abstract. You may choose to create a visual poem or a mood piece that displays your aesthetic. If story structure is not your strong point, set your imagination free with a freeform piece.
If you want to expand your understanding of storytelling further, check out Story, an in-depth look at the mechanics of story by screenwriting guru Robert McKee.
2. Concept development
Concept development is where the real fun starts! Once you have finalized your script, it’s time to sketch out the major visual elements of your animation. In conceptualizing your characters, you will take on the role of the Character Designer, drawing up characters in model sheet form. Expressing them in various poses, establishing their distinctive body language, and fleshing them out in different angles.

![]() Example of a model sheet for the character Milhouse from The Simpsons.
Example of a model sheet for the character Milhouse from The Simpsons.
When you create the world of your script, you will be acting as an Environment Designer, laying out background landscapes, architecture, and the specific environments of your story. Sketch out the look and feel of your world, paying attention to perspective, proportion, and how your characters will need to interact within that space.
In this stage of development, you are establishing the look, feel, aesthetic, mood, and genre of your piece. This is where you breathe life into your story by visualizing it. You may already have the visuals in your head, but now it’s time to solidify them. Here you will also set the ground rules of how your characters will inhabit the universe you are creating.
When you are happy that you have a strong concept, a well-structured story, and fully visualized character/s and location/s, it's time for the next stage.
3. Storyboard
Storyboarding is where your 2D animation comes to life. It involves sketching out the action of the script in sequence from beginning to end. It is essentially mapping out the key scenes in the script to show the progression of the story. The storyboard format is similar to that of a comic book, with drawings framed in boxes to isolate the important points of action. You can find many templates online to work from, or you can purchase animation software such as Toon Boom Harmony, which has a storyboarding feature. CG Spectrum is a proud Toon Boom Authorized Trainer Centre, with the animation software included as part of their course fees.
 Pokemon Sun & Moon scene storyboard by former CGS Mentor and anime and video game Storyboard Artist, Misu Yamaneko.
As you practice your storyboard artist skills, you will be using both your right brain to sketch out your designs and your left brain to sequence the story. You'll need to consider camera angles, lighting, proportion, perspective, framing, color palettes, etc. This is where you put your director’s hat on and map it all out.
It is important to identify keyframes (important scenes and establishing shots) within the storyboard. On larger projects, a Keyframe Illustrator will work solely on these points in the script that are crucial to the story. Take time to flesh these out as part of your process, as you will constantly refer back to your storyboard as you animate.
4. Dialogue recording
The dialogue of all the characters is recorded in the pre-production phase because an animator will animate to the vocals and sync them in post-production, matching up the actions to the dialogue, tone of voice, etc. The dialogue will assist and inspire your animation performance!
You don’t need to work with professional actors — do some of the dialogue yourself or employ the help of friends and family. Make sure you get a good mic for recording, pick a room that is quiet, and lay down your dialogue. Bedrooms make a good recording environment as they tend to be smaller, with mattresses and pillows absorbing reverb.
Don’t be afraid to veer from the script and improvise. Creative magic can happen at any stage of the process. One famous example is Robin Williams’ voice recording for the genie in Aladdin, he elevated the dialogue to a point where the script was changed to include the fruits of his vivid imagination. Direct your actors to make different choices and deliver a variety of versions of the dialogue.
Clips of voice actors behind the scenes in classic Disney films.
You may want to record the narration at this point, depending on the availability of talent. Otherwise, this can be done at the post-production stage.
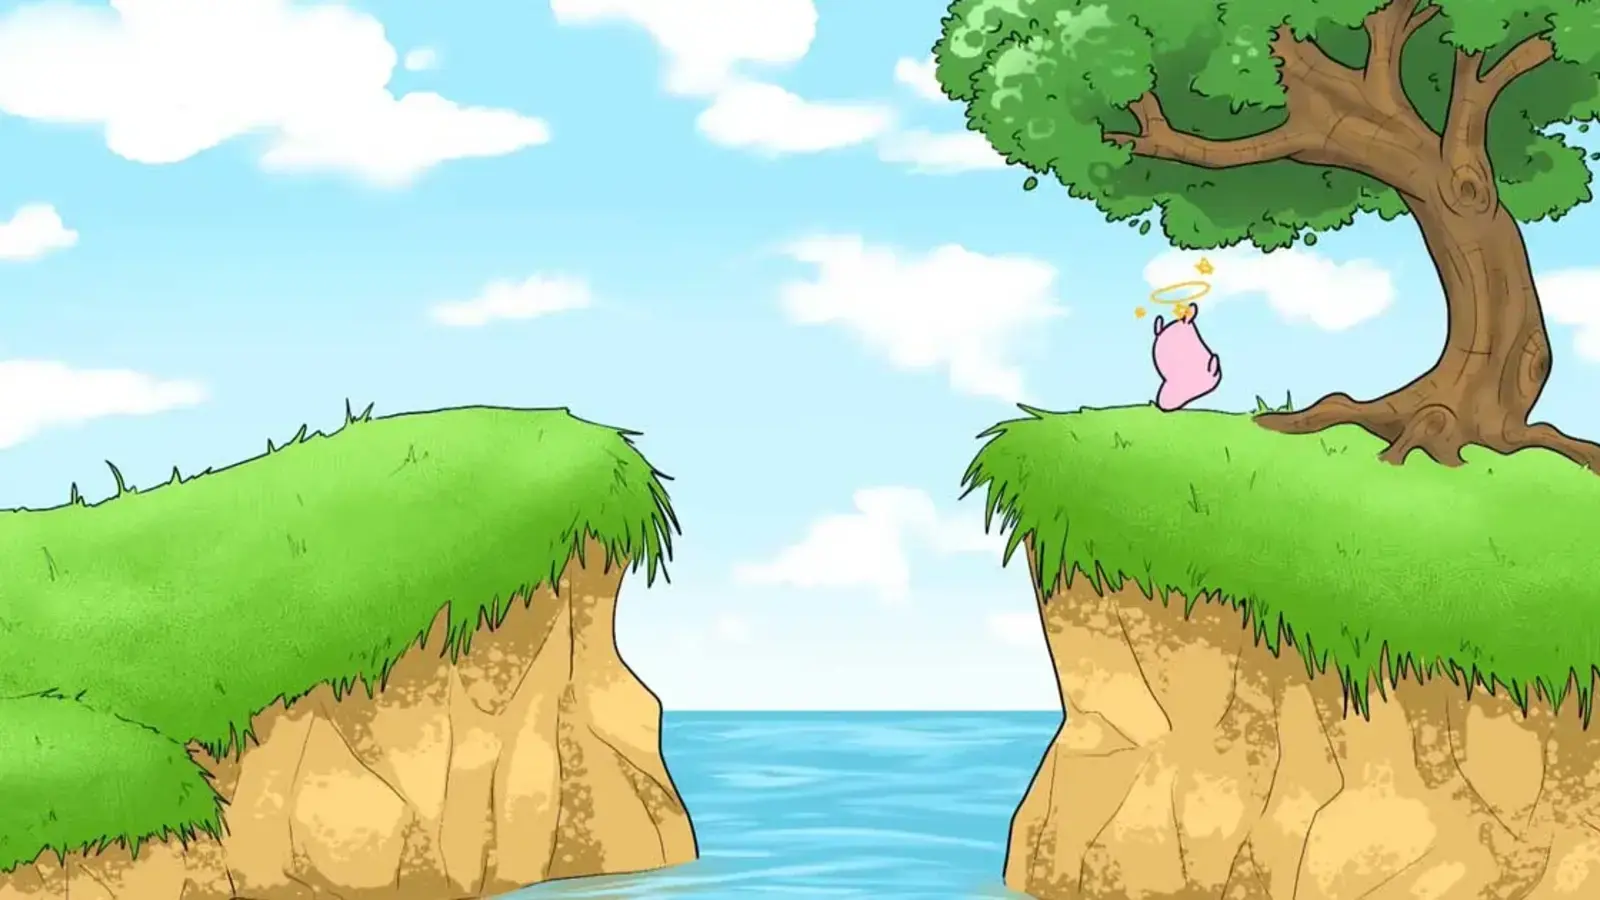
And if you don't have the time or means to record dialogue, you can always use the audio from a scene out of one of your favorite shows, like CGS grad Bianka did for her short 2D animated clip, Hide and Seek.
2D animation by Bianka using audio and visual reference from the tabletop game Critical Role. Check out the interview with Bianka to learn a bit about her process and get some advice.
5. Production
Now it’s time to animate! The tools you will need are animation software such as Toon Boom, a fast computer, a stylus pen, and a graphics tablet.
Once you have your animation tools, you will need to learn how to use them. All animation software comes with tutorials covering the basics. You can also refer to YouTube videos and other online resources to familiarize yourself with the software. For more comprehensive lessons on how to animate, taught by animation experts with years of professional experience, check out CG Spectrum's accredited 2D animation course.
Like any new skill, there will be a learning curve, and you will have to do your research on the basics of animation as well as the tools you’ve chosen. Sound working knowledge of the filmmaking process is also required, especially in cinematography. You need an understanding of camera angles, framing, lighting, shot sizes, perspective, proportion, etc. Remember, animation is visual storytelling.
Check out the CG Spectrum Podcast episode featuring 2D animator, Filmmaker, and CGS mentor, Sykosan. He chats about how he got into 2D animation.
Part of your research will be to study the 12 Principles of Animation established by Disney Studios in the 1930s. These are the classic moves you will need to master in animation, they are based on the movement of the human/animal form and its reactions to the laws of physics.
Digital animation software allows you to draw out the keyframes, and then it will automatically fill in the tweens (frames in between the keyframes). Backgrounds and characters are created separately, transposed onto each other, mirroring classical drawn animation, and then output as video files.
Remember to keep referencing the storyboard throughout, it will keep you on track and help you time out the piece.
6. Post-production
Post-production is where you will add visual effects, conduct color correction, ensure that all the tweens are in place to create smooth transitions between keyframes, and do the final polish.
Now that all the visuals are complete, it’s time to work on the audio elements, sync to dialogue, record narration (if required), and overlay the score. You can use audio software like Audacity, or you can edit in Apple GarageBand, which comes with any Mac for free. For pre-recorded sound effects, you can find heaps of options on SoundsCrate.
Sound effects (SFX), music, foley, dialogue, and narration are assembled in the sound mix. Here, you can get creative with editing the images to the audio, including:
- Syncing music to the beats of action
- Adding SFX to humorous or dramatic effect
- Playing with sound levels
- Tweaking the pitch of the dialogue
- Inserting ambient noise, etc.
Layering all the sounds into a mix helps elevate the images and bring them to life.
CG Spectrum student Jessica Serra made good use of sound effects to enhance her 2D animation
When the audio-visual elements of the animation are finalized, they are output to a final file. At this stage, you are operating like a compositor. All the file formats need to be compatible for the render to work together to produce a fully executed animation.
Now it’s time to sit back, relax, and watch your finished 2D animation!
The more you practice, the more you learn, and the better you will get. You may end up looking back on your first try as rudimentary and unpolished, but it is ultimately the first expression of your love for 2D animation. It is your starting point. And everyone has to start somewhere!
Now you know how to create a 2D animation, it’s time to build your skills!
At CG Spectrum, a Toon Boom Authorized Training Centre, our 2D animation courses are perfect for beginners to build solid animation foundations and start refining their craft. Our classes are taught by industry professionals who’ve worked at top animation studios like Disney and DreamWorks. Acting as mentors, they will guide you through the required tools and processes, providing personalized feedback and unique industry insights all along the way.
Take the next step on your journey towards becoming a 2D animator, and keep telling unforgettable stories!
Related Links