

VFX lighting artists and lighting TDs often have to deal with many moving parts, which can make taking on a larger-scale shot feel quite daunting! One of the best ways for a lighting artist to manage their shot is to break their larger tasks into sub-tasks. But where to start and how to break them down?
We asked the Head of Lighting & Look Development at Framestore in Melbourne, Drew Wood-Davies (Ted 2, Game of Thrones, John Wick 2 and 3, It: Chapter Two), for lighting advice and the best way to approach setting up and breaking down those daunting tasks, looking at both live-action plate shots and full CG shots.
What does a lighting artist do?
Lighting artists place virtual lights in their shots and adjust them to match the live-action plate or the 3D environment. The role of a lighting artist is both creative and technical.
-
Creative role of a lighting artist: VFX lighting is used to create appropriate ambiance (color tone and hue, depth, mood) for a shot while also considering external elements like the weather and time of day. A VFX lighter’s role is analogous to a film crew lighting a set to give it authenticity, continuity, and to help create a certain tenor. They use various shader settings to create effects like reflections and the appearance of wet surfaces.

BEFORE: A shot from John Wick 3 before VFX lighting was added. (Image: Method Studios, via Art of VFX)
 AFTER: The same shot as just above from John Wick 3, which Drew's lighting team worked on, adding VFX lighting to create ambiance, and a wet look road with reflections. (Image: Method Studios)
- Technical role of a lighting artist: part of a lighting artist or lighting TD’s role is optimizing their scene to make it easier and faster for computers to render them. Before rendering, they will combine various CG elements from the production pipeline, such as the CG environment, animation, and FX, and make sure everything works in the scene.
VFX Lighting workflow steps
Below are some steps laid out by Melbourne Framestore's Head of Lighting and Look Dev, Drew Wood-Davies, on how to set up and break down a VFX shot to light it effectively—looking at both live-action integration and full-CG shots—to facilitate a more efficient and creative workflow in the process. (Super helpful, thanks, Drew!)
How to set up a live-action shot for VFX lighting
Identifying ground truth for lighting live-action integration:
- Are there any reference elements that you can use to ascertain the lighting conditions of the plate element (live-action)?
- Often there are reference plates that include grey (18% grey) and chrome balls for reference – these are known ground truths and can be easily replicated in a digital environment as a means of calibration.
- Are the any IBL/HDRI’s available that you can use to light your scene or provide clues as to the position, color, and intensity of your lights?
- If no reference is available, identify any clues in the plate/footage, are there any known materials in the scene? Perhaps a piece of white painted metal (60% white) or concrete to help approximate a material response? It’s useful to remember that CG lighting is additive when compositing but is multiplied against your diffuse during the rendering process. Taking the above into consideration, we can then reverse engineer our lighting intensities and get a reasonable approximation of the scene lighting. It’s just simple maths.
- Define your lights — once you are confident your known material is calibrated, you will be able to reverse engineer the approximate color and intensity of your lights. This is achieved by calculating the difference between the raw diffuse, and desired outcome (footage). For example, once rendered, your digital material should match perfectly to the plate/footage, from here, any difference will need to be accounted for in your lighting. When taking this approach, always establish your ambient (dome/IBL) first, then calibrate each key light from most dominant to least.
- Light direction & shadow quality — once you’ve determined the intensity of your light, ensure its direction is correct. Existing shadows in the footage can provide great clues. How long are they, are they soft, etc.?
- The above steps can be followed for each other light in the scene, working down from the most dominant lights to those with the least influence.

How to set up a CG shot without footage/plate for VFX lighting
Identifying the mood and compositional goals:
- Are there any mood boards or color scripts that convey the vision for the shot?
- Light quality — Is it day or night?
- Feature lights — are there any dynamic lights to be considered? Flashing lights? Animated neon signs? Lightning?
- Are you trying to convey an emotion using color? Red for anger, blue for sadness, etc.
- Does your character/subject require specialized lights to help them read against the background (e.g. rim light)? Is there a visual language for the lighting that is already established that should be respected?
- Produce as many cheap iterations as you can to seek approval and additional guidance from creatives before getting fixed on an idea. You could find yourself getting very far down the creative process, only to find out you took the wrong direction.
Breaking down a VFX shot into layers for rendering
What does your shot/scene consist of — an environment, characters, FX elements? Consider creating separate render layers for each element.
- Identify the production milestones and stick to those first; for example, animation approval may be required ahead of environment approval, so it would make sense to focus your efforts there.
- Identify which datasets/elements are going to be subject to revisions/iterations and place them on their own layer; a CG Character, for example, may be subject to many performance revisions. This way, they can be rendered/processed independently of other fixed elements, and thus reduce the time between iterations. It would also be beneficial to consider the elements’ influence on the environment — will it cast a shadow or reflections? And place these on their own layer as well. Having to re-render an expensive environment pass every time there is an animation update is not the most economical workflow.
- If there are multiple characters, do they interact? If not, perhaps they could be rendered separately to prevent re-rendering in the event only one of the other characters has received an animation update.
- How heavy is your data set? Can all your elements be rendered together, or are there efficiencies to be gained by breaking things up further? For example, an environment could be rendered as foreground, middle ground, and background. If later revisions only affect a few of these, render-time could be saved by not having to re-process.
Evaluating your lighting
Bring all the elements together early to evaluate what’s not working, and seek further creative guidance if required.
Lighting your scene in Unreal Engine — student examples
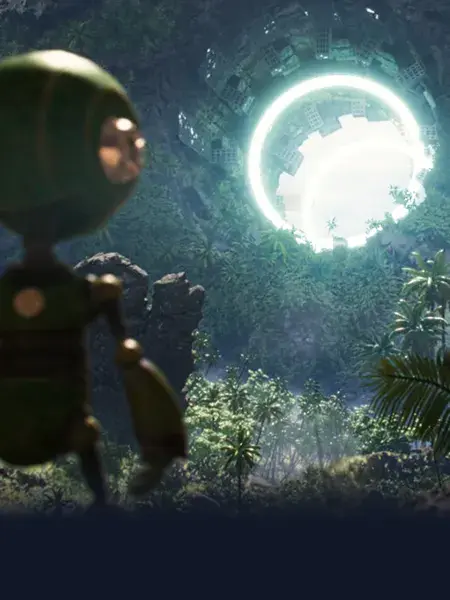
CG Spectrum student Marc Carratala employed the 3D lighting tools and techniques he learned as part of the Real-time 3D Course to create a cinematic short film in Unreal Engine 5.
3D Tech/Lighting Artist and CG Student, Marc's short film. On his ArtStation, Marc documents some of the light placements to demonstrate how he created his artistically lit shots.
Dark Nebula has been selected as a finalist for the 2022 Rookie Awards for Film of the Year (3D Animation), and Marc is also in the running for Rookie of the Year (3D Animation). Congratulations, Marc!
Another talented student, Benjamin Oman, learned lighting basics as part of CG Spectrum's Foundations of Game Art and Animation Course. Now studying the 3D Modeling Course, Benjamin seamlessly applied his recently acquired lighting knowledge to artistically illuminate his 3D model of Battle Chasers character, Alumon. When tackling the lighting, he kept in mind the principles of three-point lighting on his model by using a directional light that lit the whole scene.
Benjamin's 3D character model of Alumon from the game Battle Chasers: Nightwar, with VFX lighting using Unreal Engine 4.
Benjamin also had a handy tip for those wanting to add ambient god rays: "use Exponential Height Fog and play around with the scattering settings from the directional light plus the Height Fog."
He also recommends checking out CG Spectrum Mentor William Faucher’s Youtube tutorial on lighting a night-time exterior which is what inspired Ben's lighting.
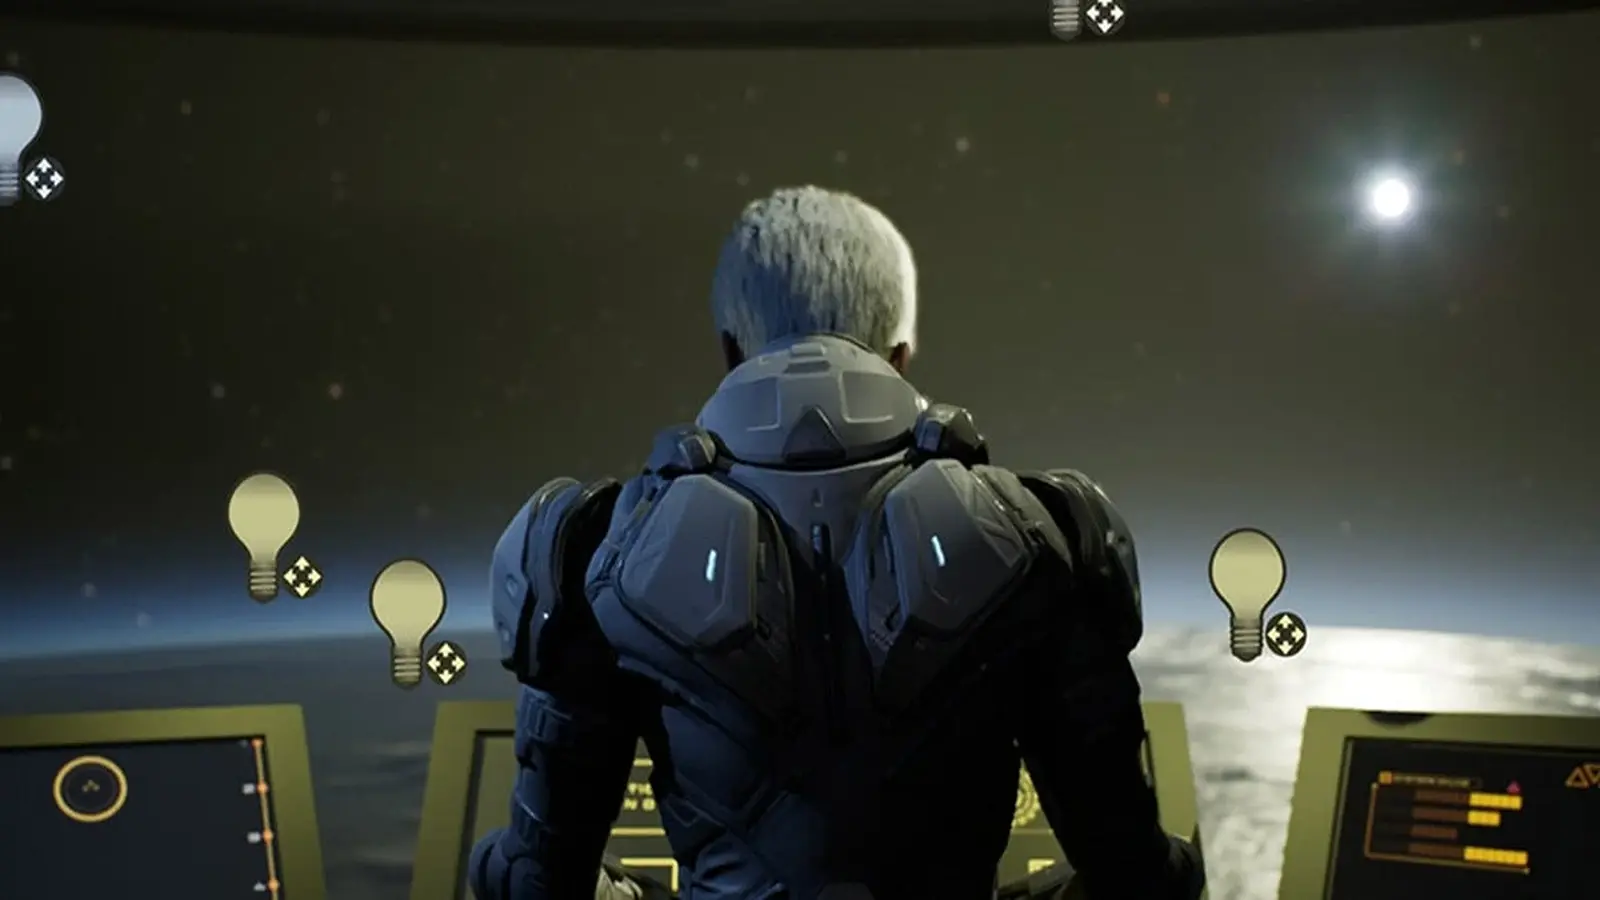
lighting a night-time exterior The scene William Faucher created in his YouTube CG lighting tutorial that Ben used as inspiration for lighting his 3D model of Alumon.
Although William's tutorial is demonstrated In Unreal Engine, he stipulates that the techniques covered can be applied to almost any renderer.
Want to learn the techniques of a lighting artist to create cinematic films and games that are out of this world?
Good lighting is integral to building a compelling 3D scene. At CG Spectrum, an Unreal Academic Partner and Unreal Authorized Training Center, you'll learn lighting essentials and tools in Unreal Engine as part of our Real-Time 3D Courses.
You will also receive weekly personalized online feedback from industry-experienced mentors (like William!) to help guide and inspire you towards a bright career in virtual production.

Related Links